In this chapter, we will see how to use the Multilanguage feature of Magento.
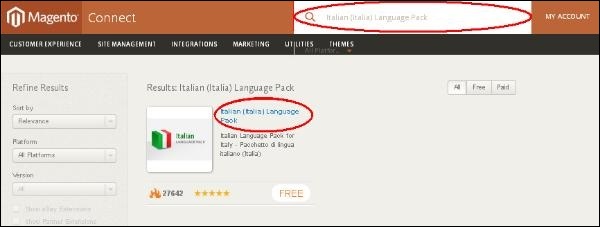
Step 1 − Go to the official website of Magento and search for a new language pack using search field. For instance, if you want to search for Italianlanguage, type Italian Language Pack in search box and press enter. It displays the installation package file. Click on it.
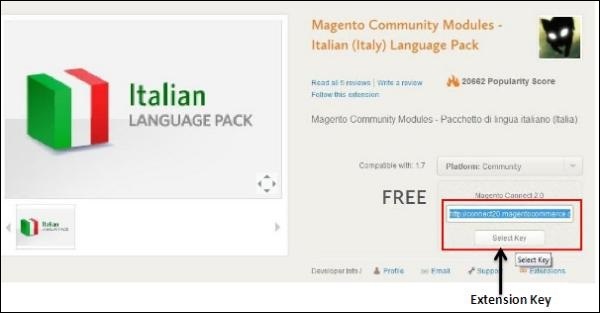
Step 2 − You get a package for installing language. You must login to the site to get a language pack. After you login, you get the Extension Key as shown in the following screen.
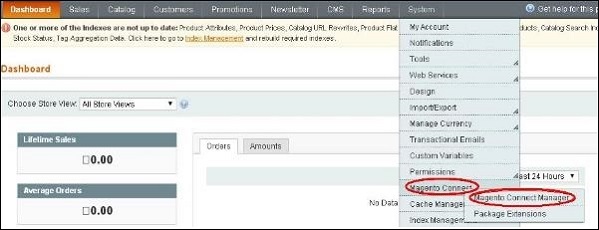
Step 3 − Now login to your Magento Admin Panel and go to the System → Magento Connect → Magento Connect Manager option.
Step 4 − It again asks you to login. Enter your credentials to redirect toMagento Connect Manager window.
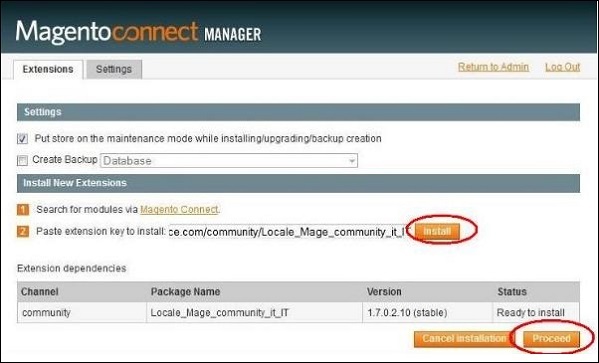
Step 5 − Now under Extensions section, paste the Extension Key (that you had already copied in step 2) and click on Install button. It then displays a status as "Ready to install" and click on Proceed button to install the language.
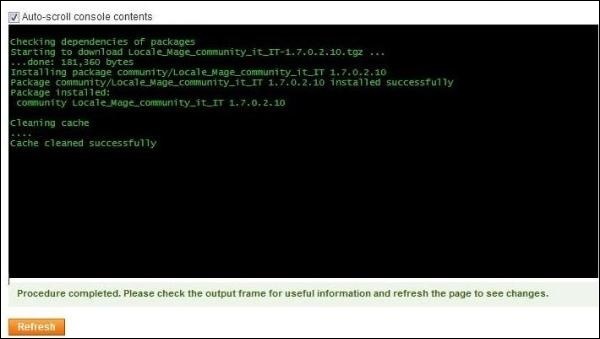
Step 6 − It checks for dependencies of packages and displays the message asCache cleaned successfully. Now go to admin dashboard page by clicking onReturn to Admin link.
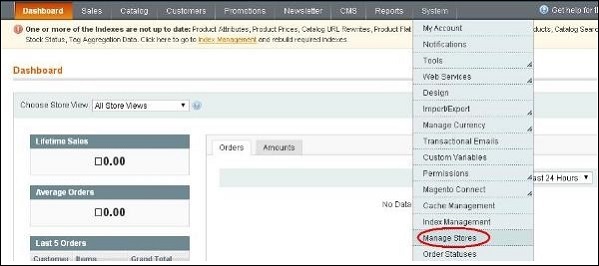
Step 7 − Go to the System menu and click on Manage Stores option.
Step 8 − You will get Manage Stores section to create store view as shown in the following screen.
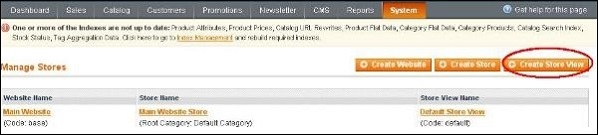
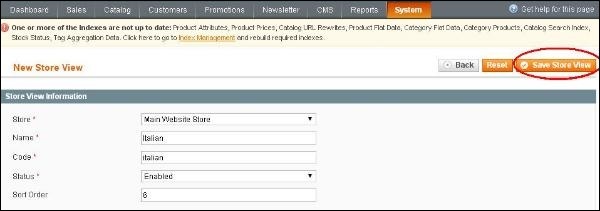
Step 9 − Click on Create Store View button and enter the information for Store, Name, Code, Status and Sort Order fields and click on Save Store Viewbutton to store the view as shown in the following screen.
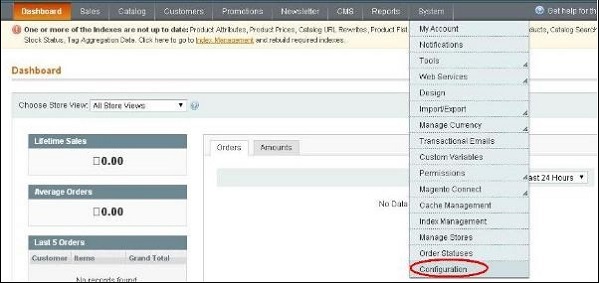
Step 10 − To set up your stored language pack, go to the System menu and click on the Configuration option.
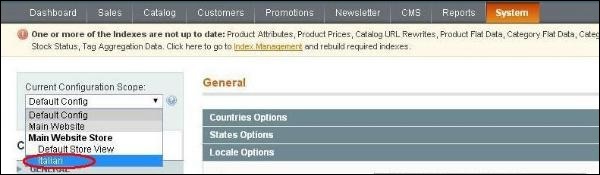
Step 11 − Go to Current Configuration Scope section on the left side of the page and select the Italian option from the dropdown menu.
Step 12 − Now under General section, click on Locale Options, uncheck theUse Website checkbox, select the Italian (Italy) option from the dropdown menu of Locale field and click on Save Config button.
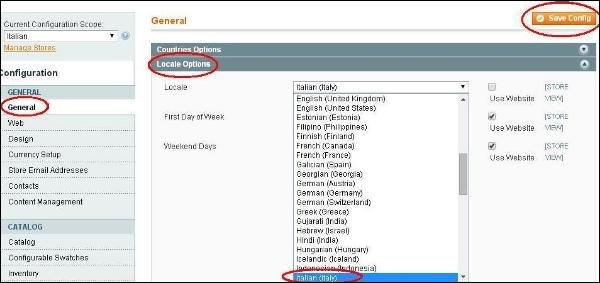
This saves your language in Magento and selected langauge will be assigned in the selected store view.
No comments:
Post a Comment